If someone told me 6 years ago that I would climb Mount Saint Helens, I would have called them crazy! Actually, if they told me I would have hiked anywhere I would have laughed. Growing up in the heat and humidity of Tennessee I tried to avoid the outdoors as much as possible. But in 2016 we moved to Washington state and everything changed.
That next summer I fell in love with hiking and everything related to the outdoors. I hiked over 150 miles in just 6 months. Somewhere during that time, I came across a story about people climbing Mount Saint Helens. I knew I wasn’t ready for a technical climb like Mount Hood. But Mount Saint Helens is more of a beginner-level climb, so it was perfect for my first climb.
Permits
I started researching the climb itself and how to prepare. The first step was to secure a permit which is required year-round. If you climb between November and March, they are free and there are no limits on the number of climbers. But if you climb between April and October, you must purchase a permit and they are limited. From April 1st – May 14th there are 300 permits per day. From May 15th – October 31st the number of permits drops to 110.
It used to be a mad rush for permits on one day each year, but the process changed in 2021. Now permits for each month of the April-October climbing season are released at 7:00 am on the 1st of the preceding month. So permits for April go on sale on March 1st at 7:00 am PST.
If it’s anything like when I bought mine, you better be logged in to Recreation.gov and ready to go by that time. Start hitting refresh a couple of minutes before 7:00 am. It took me multiple tries before I was able to snag an open date without someone else booking it first. The midweek days go a little slower, but they will likely all be booked within the first hour or two.
Oh, and just in case you were thinking you’d skip this step, they definitely check those permits. The day I climbed there were 2 rangers who basically started after everyone else and they were checking permits along the way.
Prepare
Ok, you’ve got your permit and that already felt like an adventure all on its own. So now what do you need to do to prepare for your climb? Obviously, you want to be sure you are physically ready for the climb. While this is considered a beginner-level climb, it is not something you want to just do without any preparation.
I wrote a post about my Mount Saint Helens training hikes. If you live around the Portland area, those are great hikes to help you prepare. If you live somewhere else, you can use the length, elevation, and other details from those hikes to find something comparable near you.
I spent my weekends focused on those training hikes, and during the week I was in the gym 3-4 days a week working on cardio. Specifically, I did a lot of treadmill walking with increasing inclines, and the dreaded stairclimber.
Routes
There are 2 popular routes for climbing Mount Saint Helens. The route you choose will likely depend on the time of year you climb and the weather. The winter route, known as Worm Flows, leaves from the Marble Mountain Sno-Park. The summer route, known as Monitor Ridge, starts at the Climber’s Bivouac. The winter route is longer (12 miles vs ~9 miles) and involves climbing an extra 1000 feet of elevation gain.
Keep in mind that on a mountain the terms summer and winter can have different time ranges than you’re used to. For example, when I did my climb in July of 2019, the summer route had only been open for a couple of weeks. The road to get to the Climber’s Bivouac is closed during the winter and only opens once enough snow has melted. That year it didn’t happen until the first week of July.
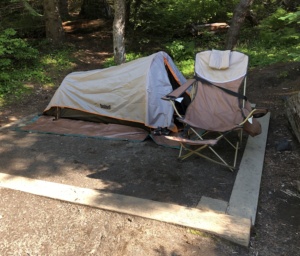
One nice thing about the Climber’s Bivouac is that there are quite a few dispersed campsites where you can camp for free the night before you climb. These are first-come, first-serve so you don’t want to show up late or you might be sleeping in your car! I arrived around 4:00 pm on the Saturday before my climb and snagged a great site. Just remember to be courteous to the next round of climbers. Break down your camp and move your vehicle over to the parking area before you start your climb.
The best way I found to monitor conditions was the Washington Trails Association website. Anyone who climbs can leave a trip report with details and photos. Some just say “nice view” or something simple. But a few people each day take the time to describe their hike, how much snow there was, any challenges, etc. Those were a huge help! I also found several videos on YouTube that show people doing the entire climb. It gave me a good idea of what the terrain is really like.
The Climb
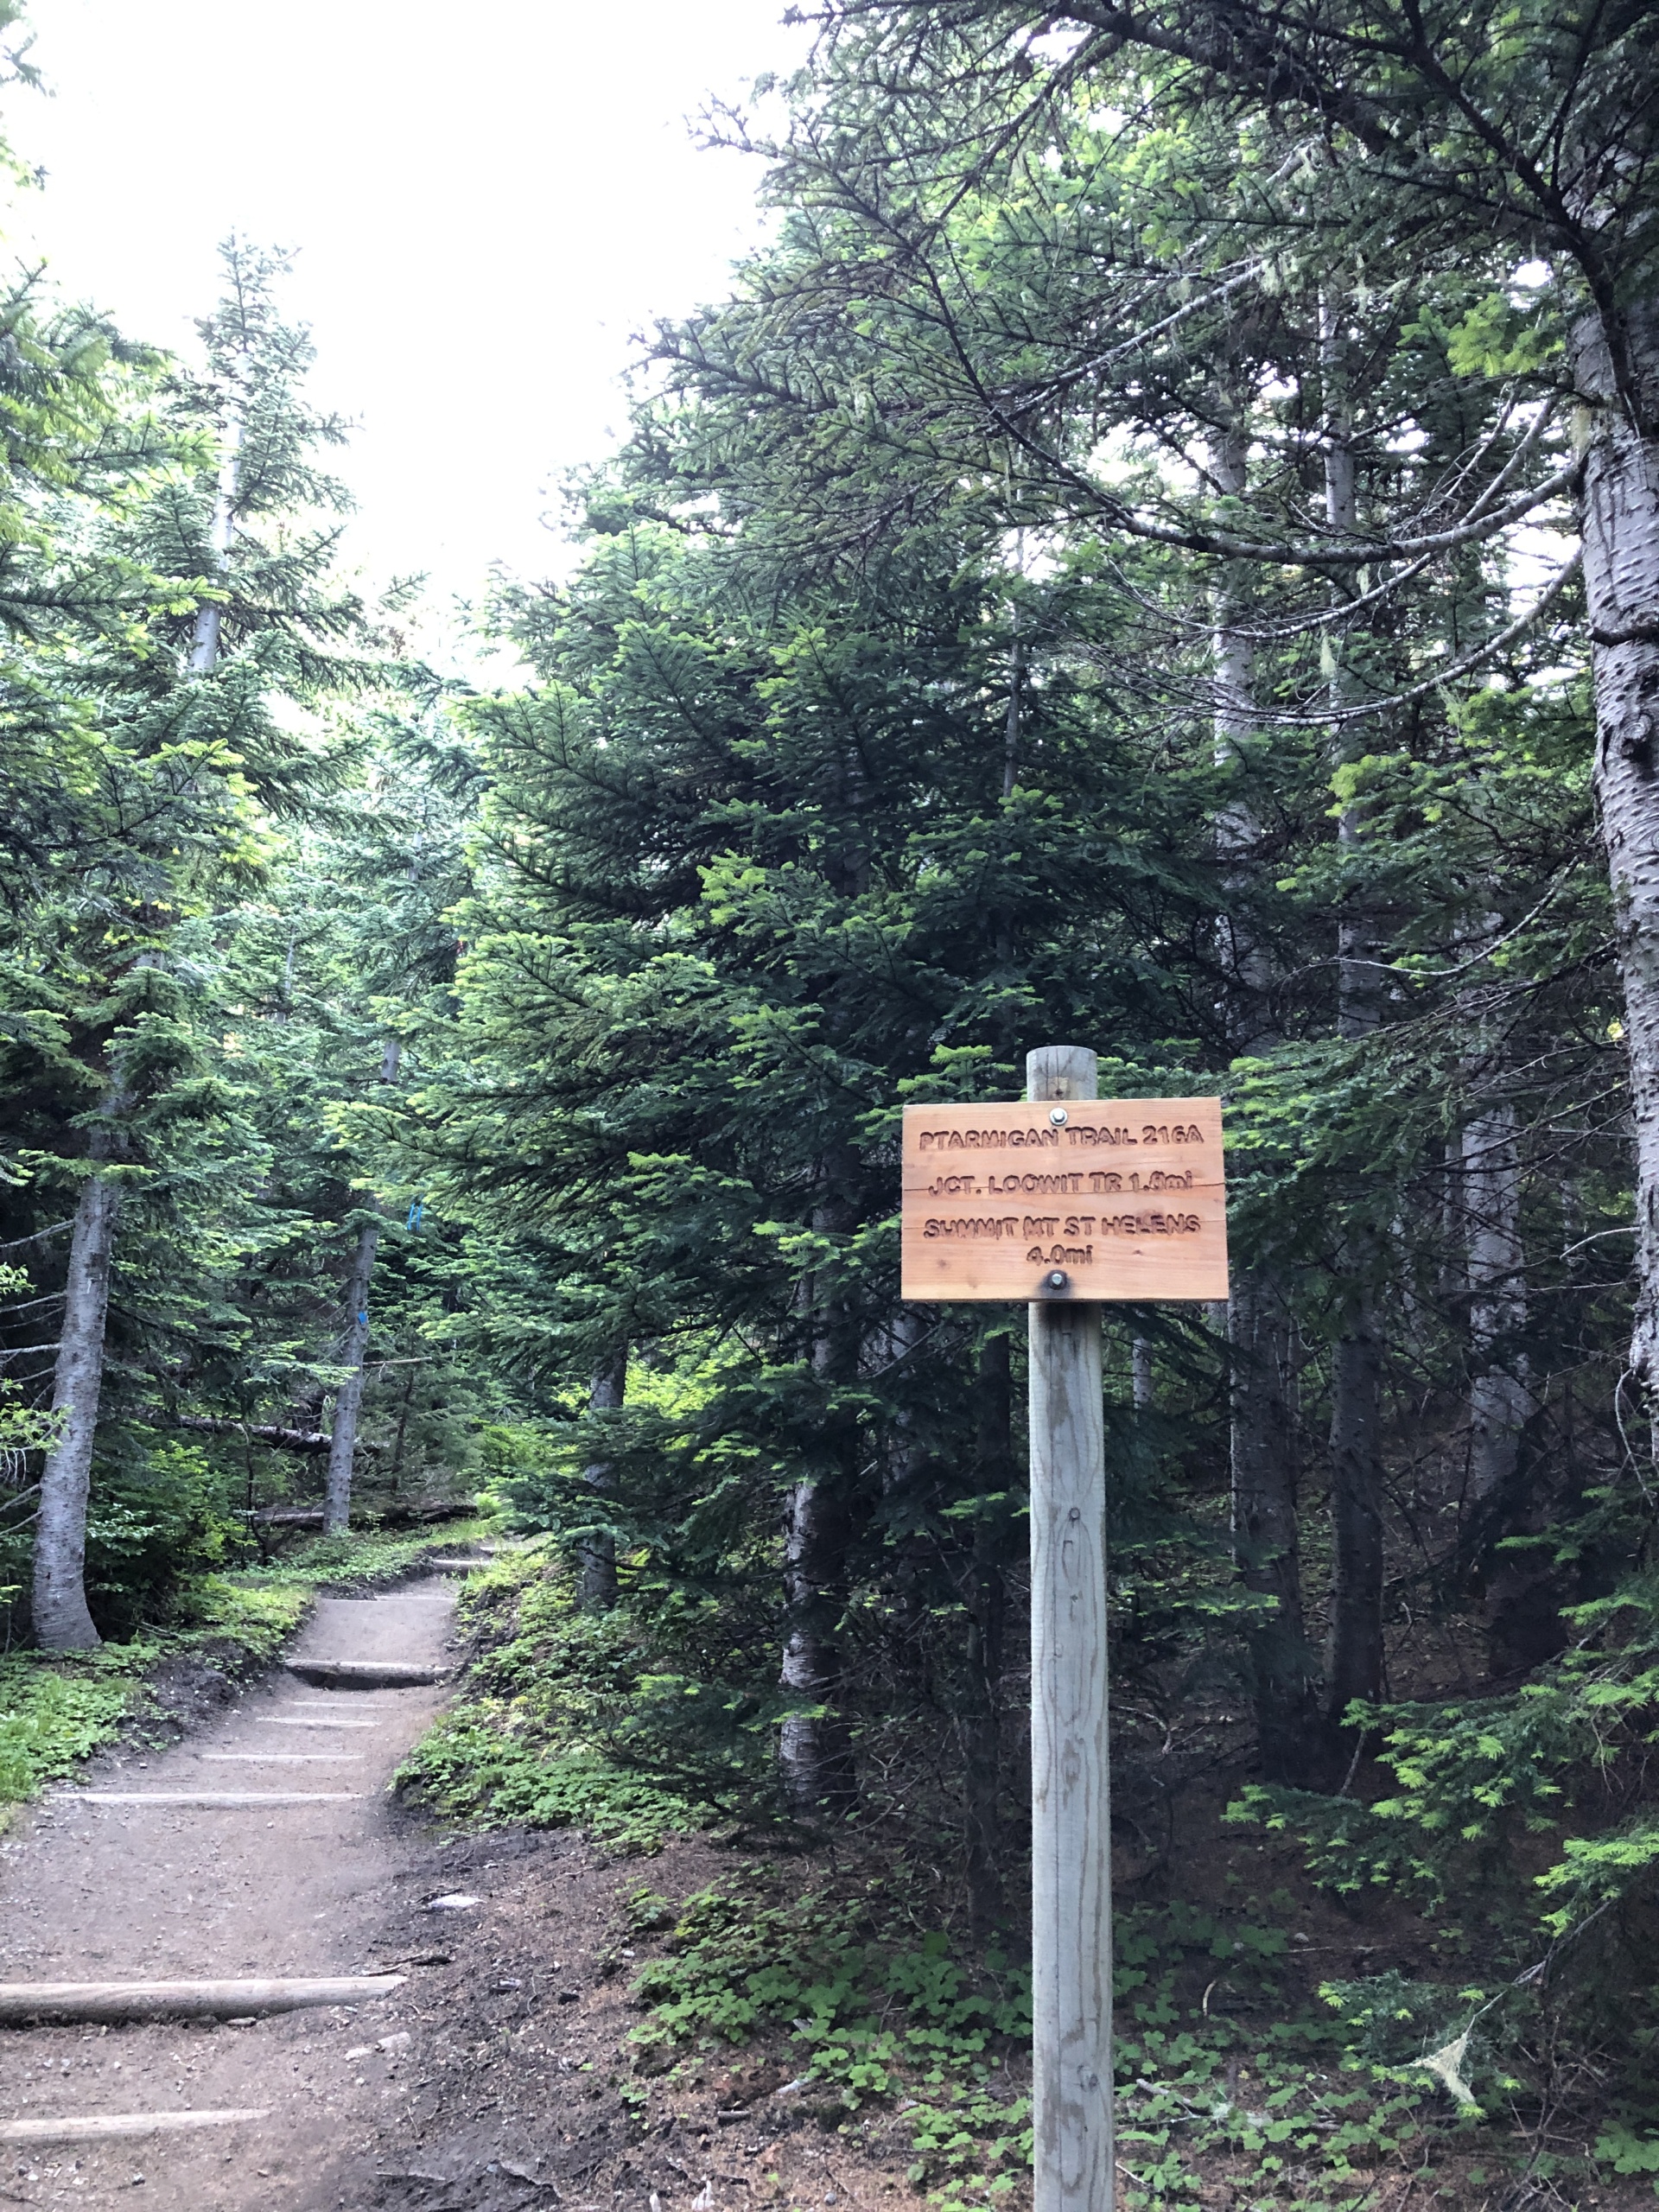
The day has finally arrived and it’s time to climb Mount Saint Helens! Starting from the Climber’s Bivouac trailhead, you’ll be on the Ptarmigan trail for the first 2 miles. It’s the easiest part of the hike and the only tree cover you’ll have all day. If you’re hiking on a sunny day, enjoy that shade while it lasts! Shortly after you come out of the trees you’ll start climbing for real. Soon you’ll come to the boulder field of Monitor Ridge. It helps to bring a pair of gloves to protect your hands as you scramble over the boulders. Also, be sure to pay attention to the wooden pole markers so you don’t drift off course.
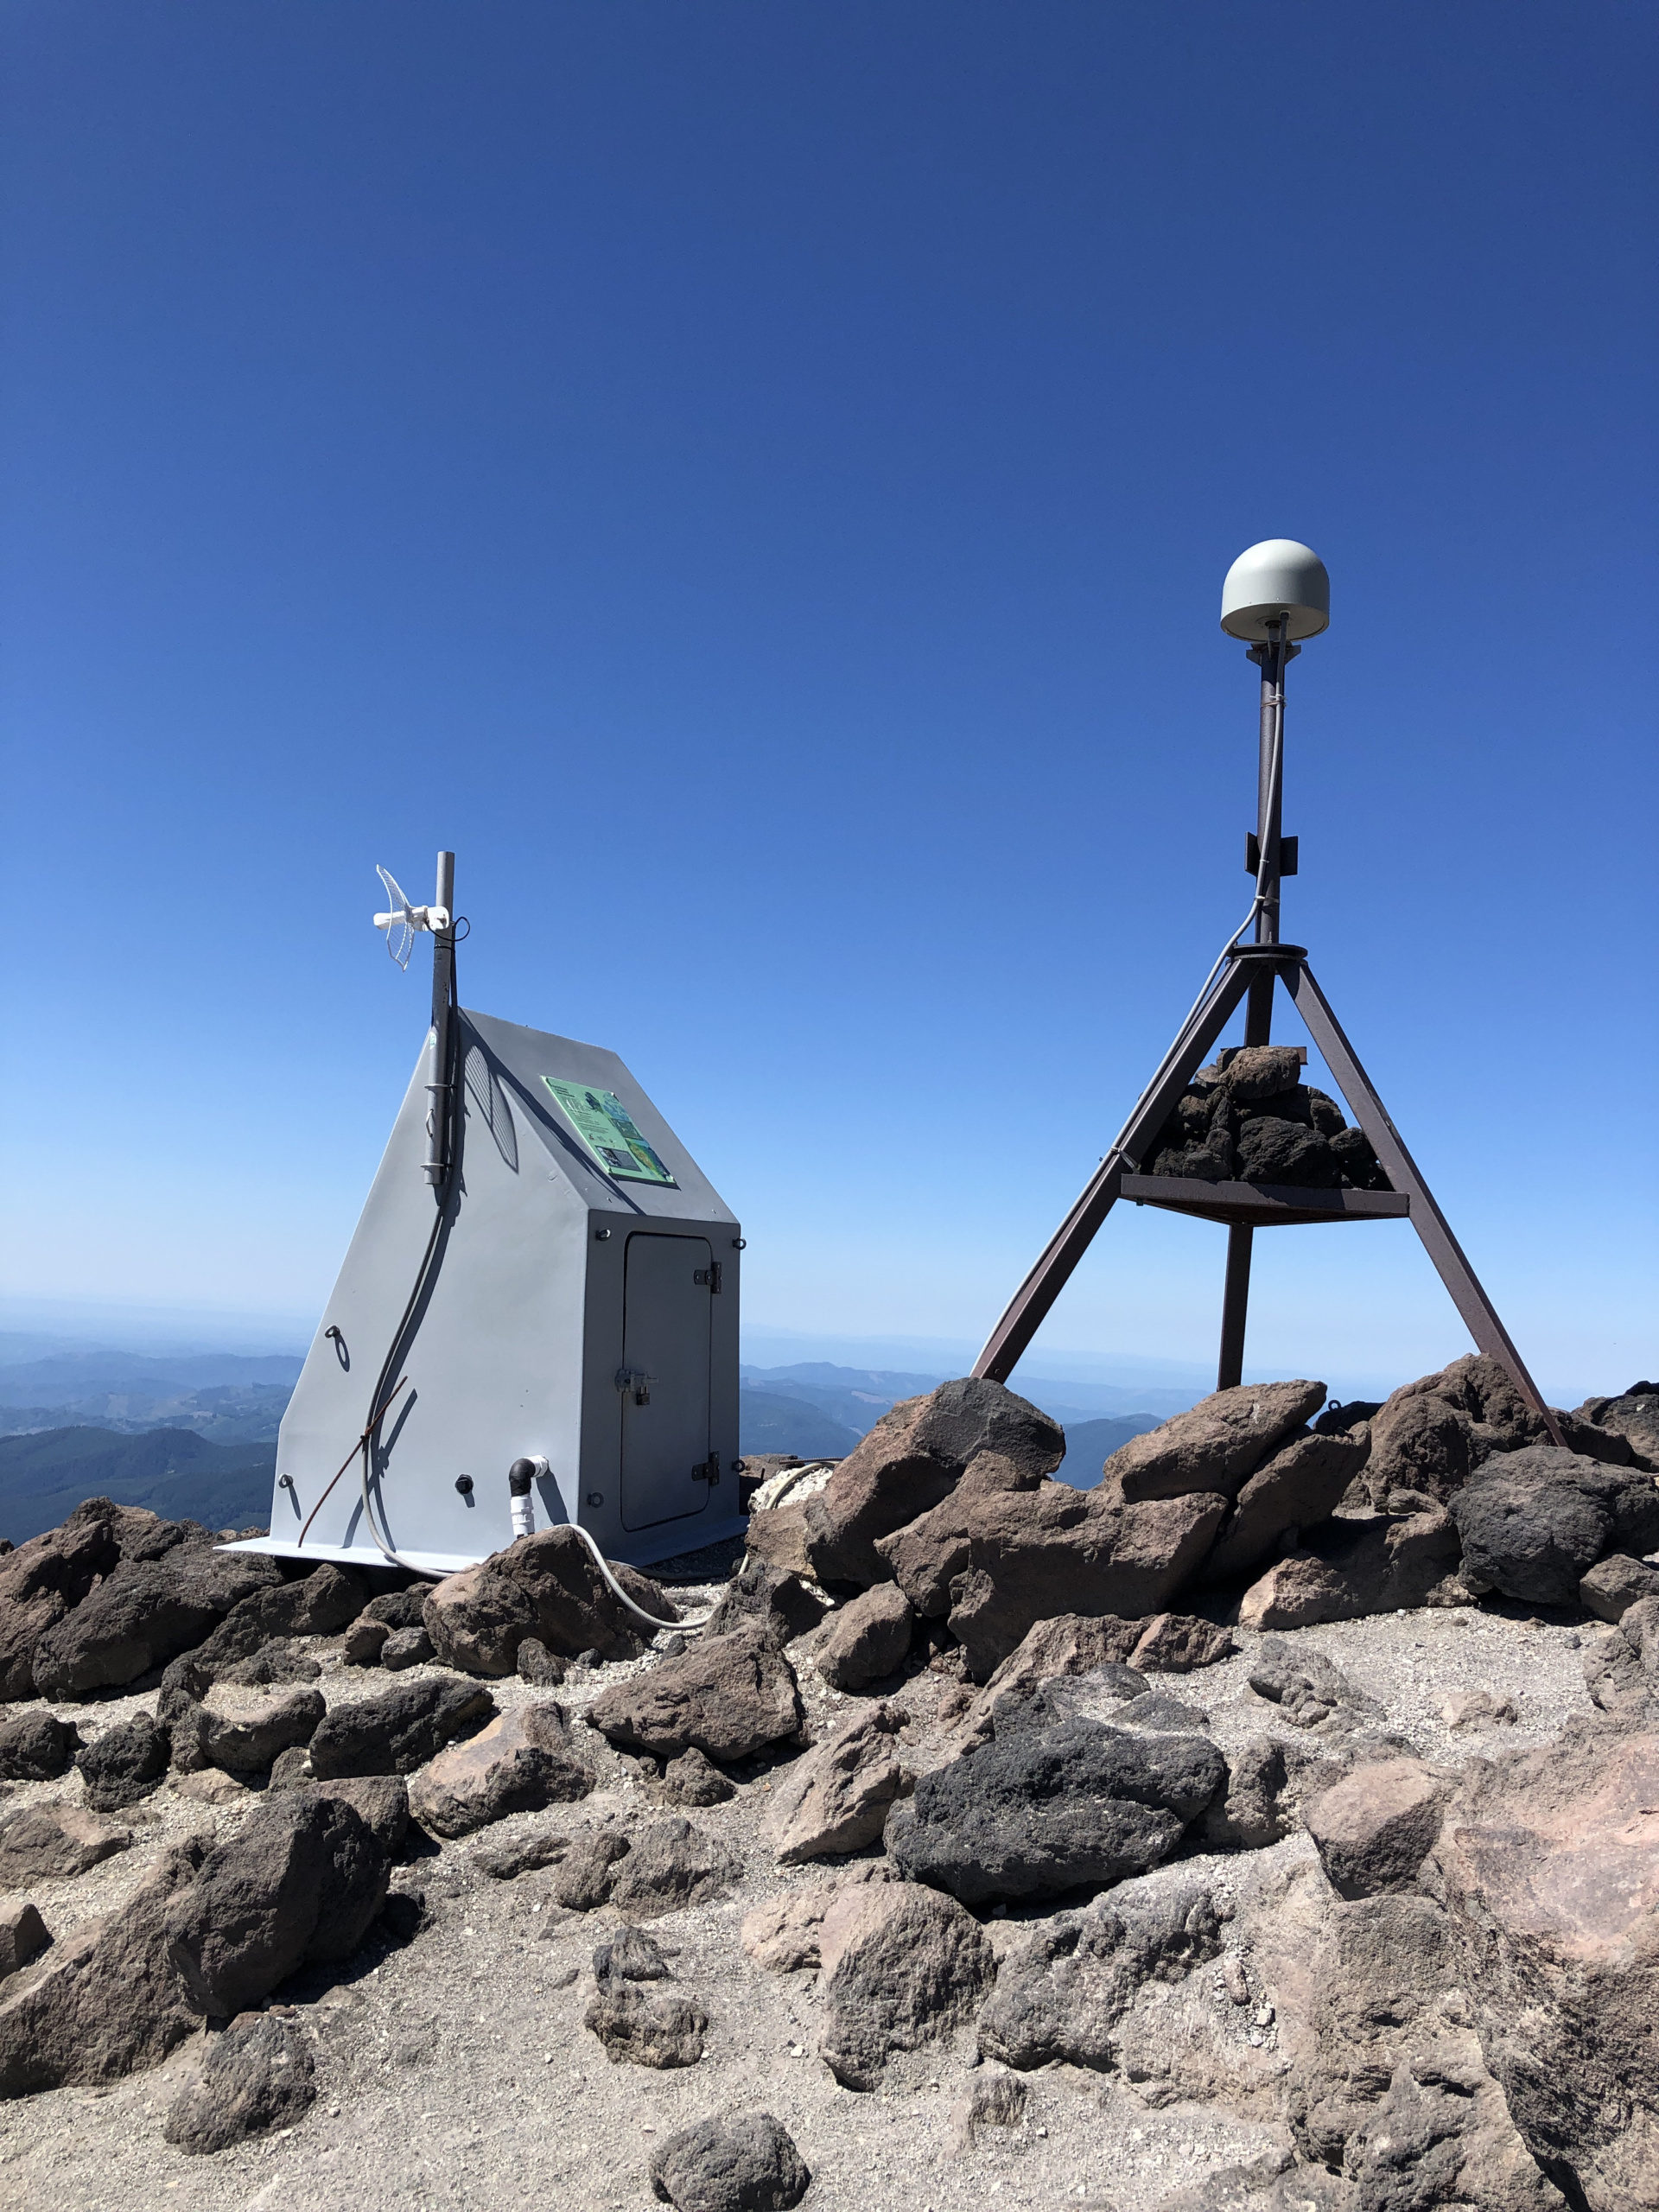
Around 7000 feet elevation, you’ll reach Monitor Peak and a station with GPS and seismic gear. It’s a flat area that’s a good spot to take a break for snacks. It’s also where we applied a 2nd layer of sunscreen. You’re headed to an elevation of 8365 feet and while that doesn’t seem like a lot, it’s high enough that you’ll burn faster than usual. I missed a spot on the back of my neck when reapplying and it was the worst sunburn I’ve ever had!
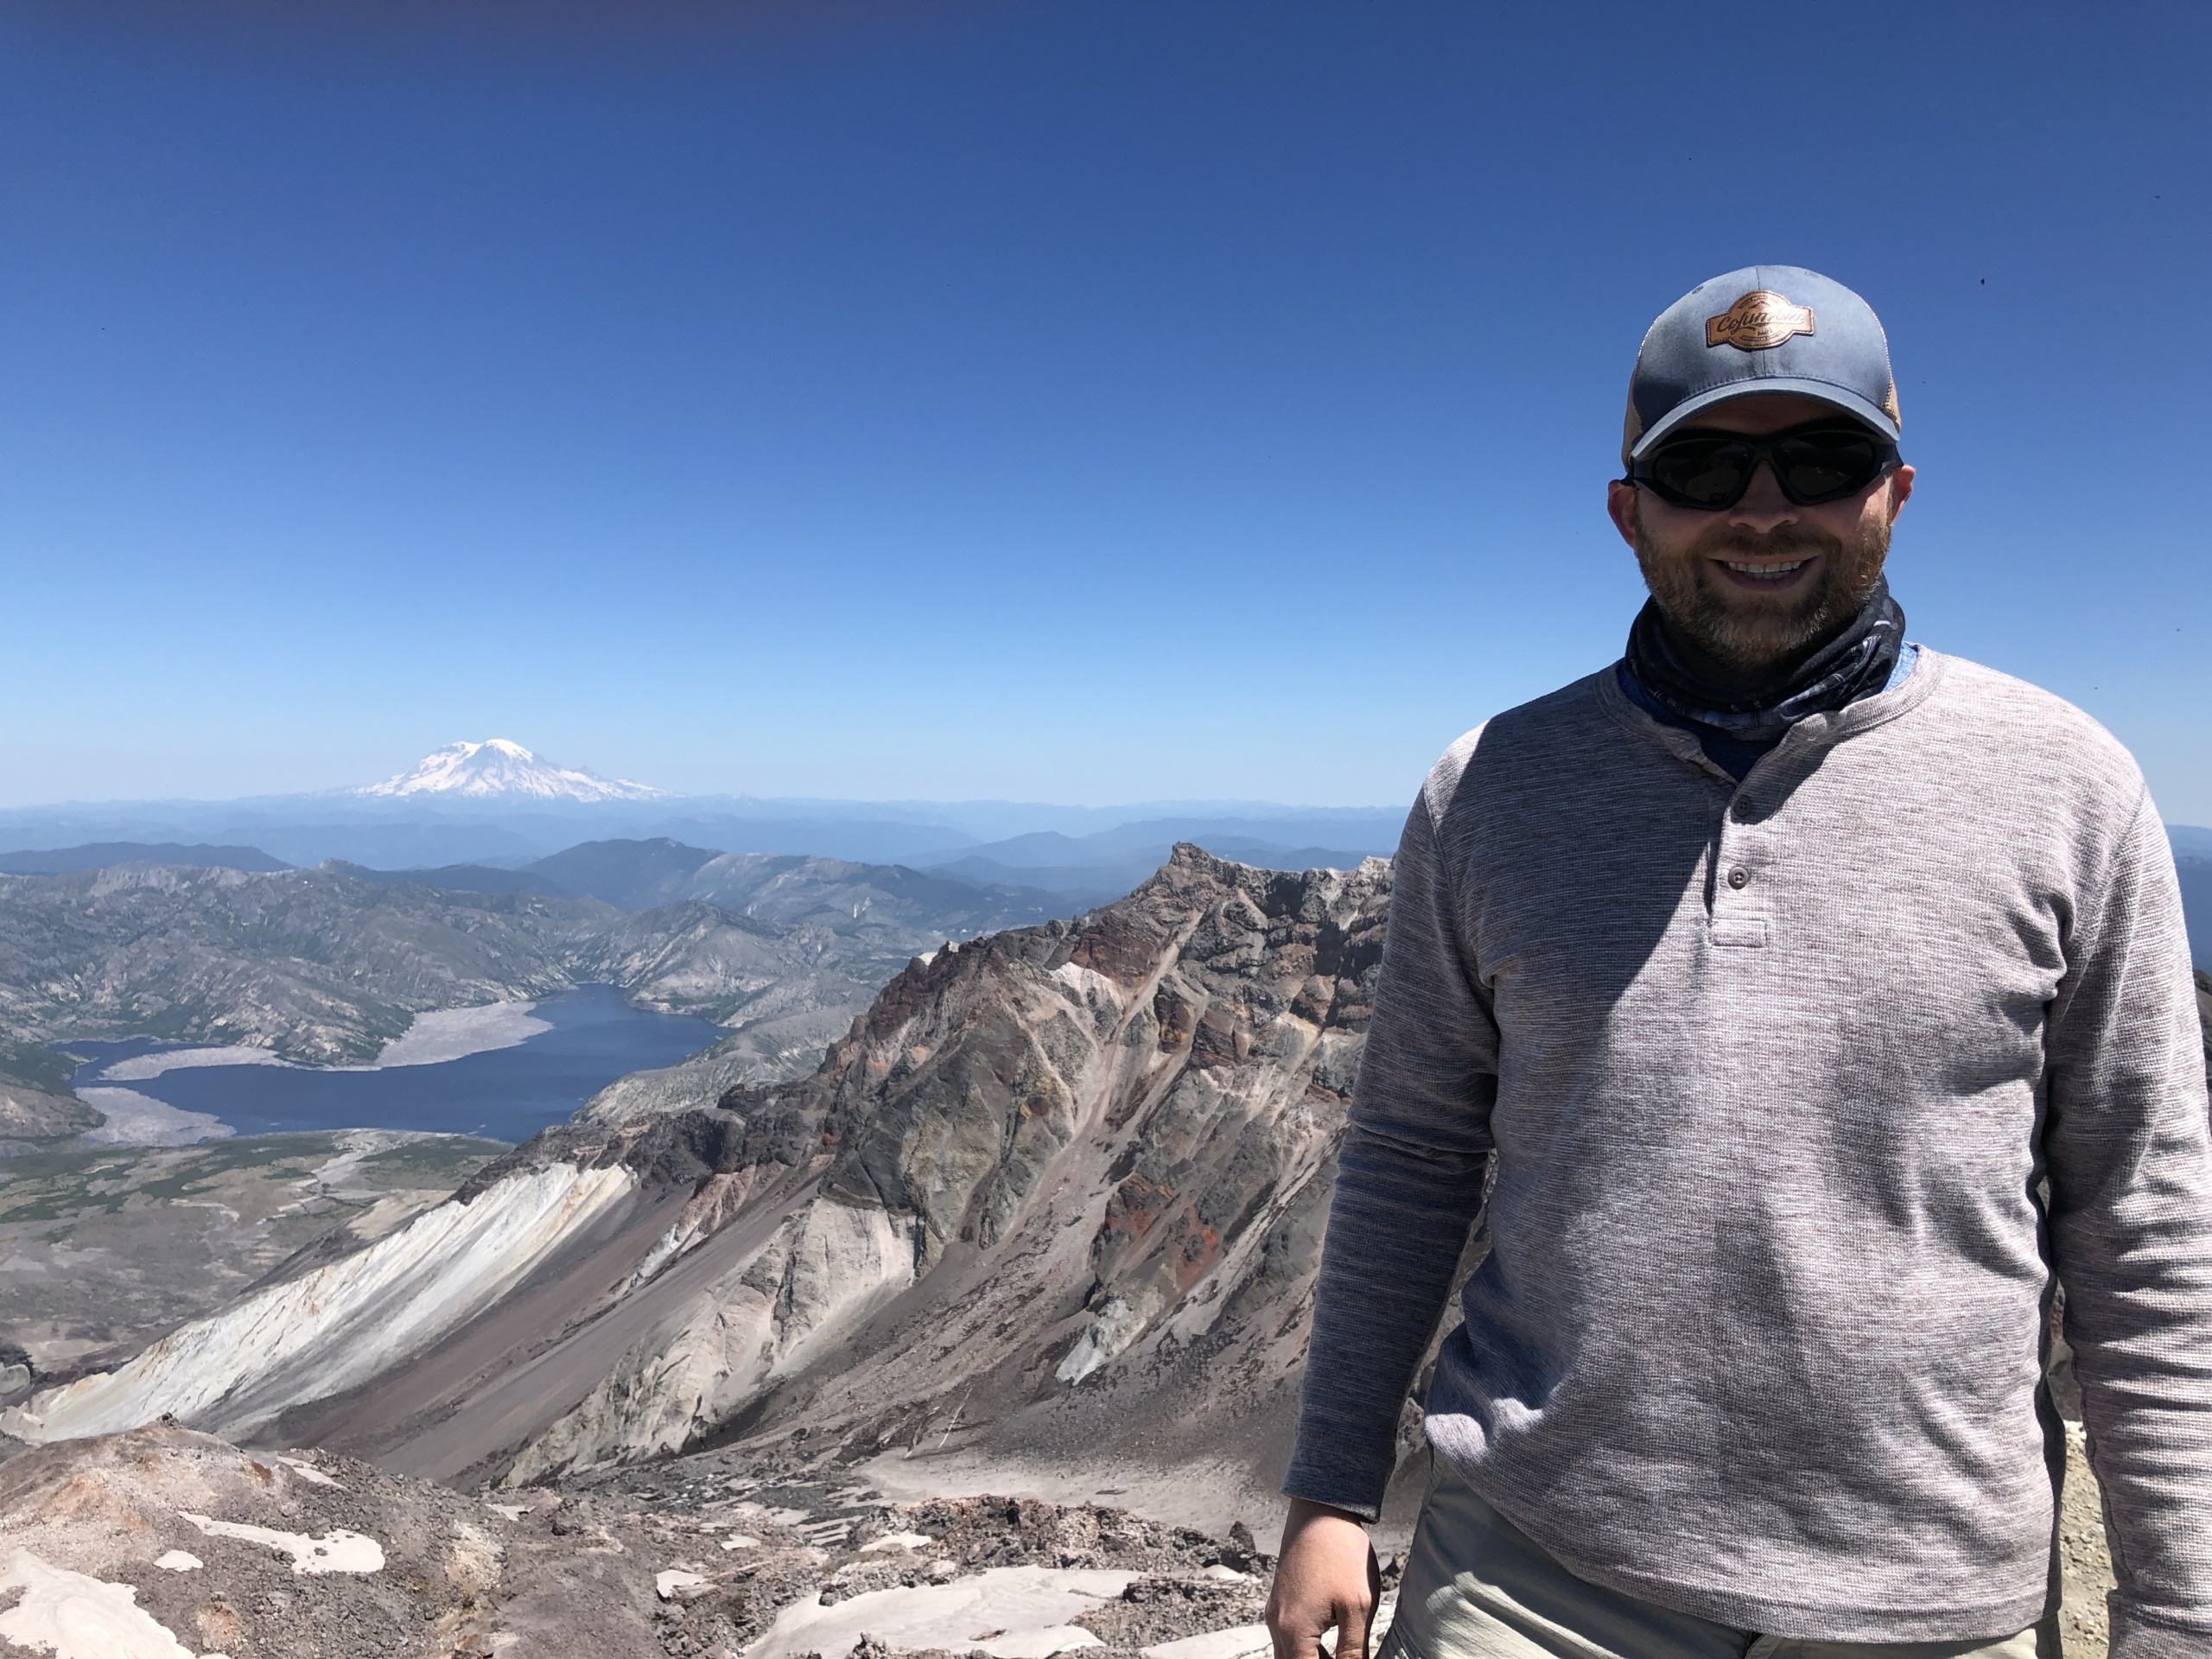
Now that you’ve refueled, it’s time to scramble over the rest of the boulders which brings you to the hardest part of the climb. A few switchbacks that are steep and covered in scree, followed by the vertical beach. It’s called the vertical beach because it’s about 100 yards straight up through ash which feels like walking in sand. It’s a beast, but you’ll forget about your aching legs once you reach the top and peer down into the crater.
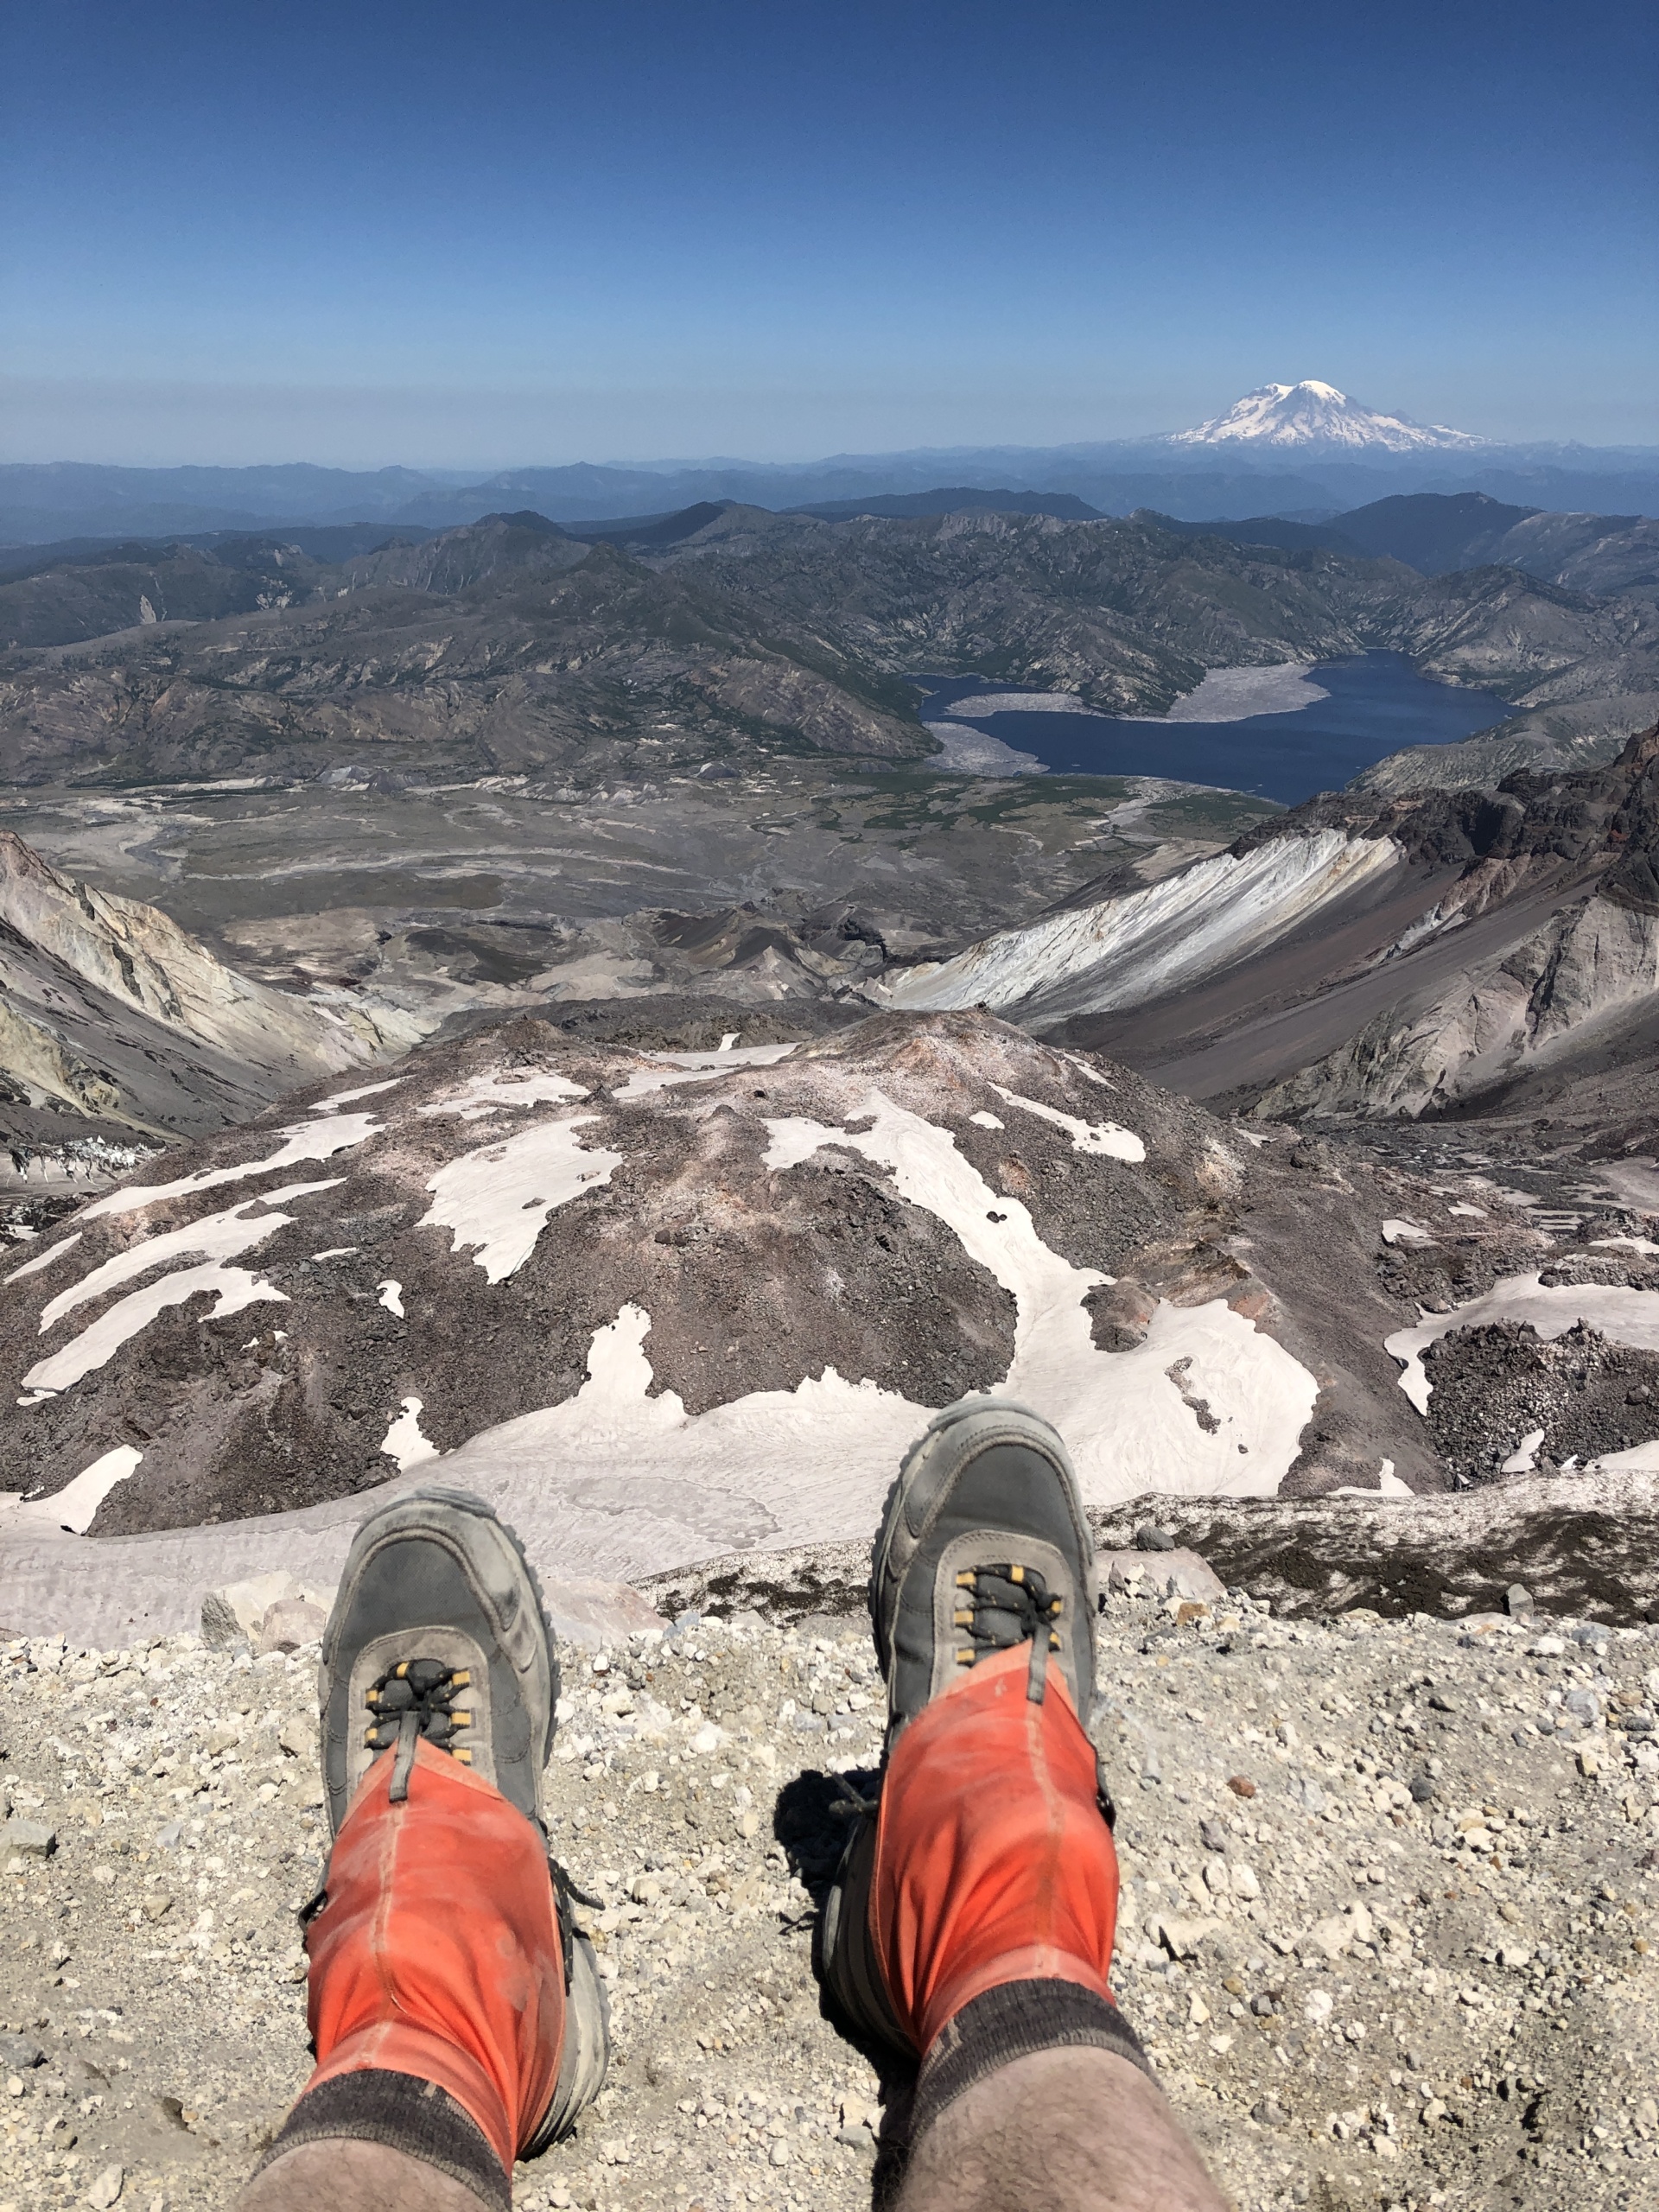
It’s unlike anything you’ve seen before and of course, pictures can’t do it justice. If you’re lucky enough to climb on a clear day, you can see Mount Adams, Mount Hood, and Mount Rainier in the distance. Take a well-deserved break to have lunch and maybe a mini bottle of champagne to celebrate your accomplishment. You just climbed a freakin’ volcano!
After you’ve rested, taken a ton of photos, and finished replacing those calories you just burned, it’s time to head back down. Just like any hike with a lot of elevation, going down is tough on your knees. But on Mount Saint Helens the hike down includes sections of ash and scree that make it extra hard to keep your footing. I’m going to cover the gear I used in a separate post (and update this post when I do), but for now just know that hiking poles will be your best friend on the way down.
The best part of your day will of course be reaching the summit and taking in the view. The second best will probably be when you reach your vehicle and are able to take off your boots and let your feet slip into something comfortable (Crocs are my post-hike footwear choice).
The third best in my opinion is the moment you reach the final 2 miles of the hike. If your climb is on a sunny day, it will be the first time in roughly 5 miles that you’ve had any shade. And even if it’s not a sunny day, those final 2 miles are a nice, leisurely stroll compared to the rest of the hike. Think of it as a victory lap for your lungs, legs, and knees as you triumphantly return to the trailhead. You’ll be sore, tired, and dirty, but feeling very accomplished!
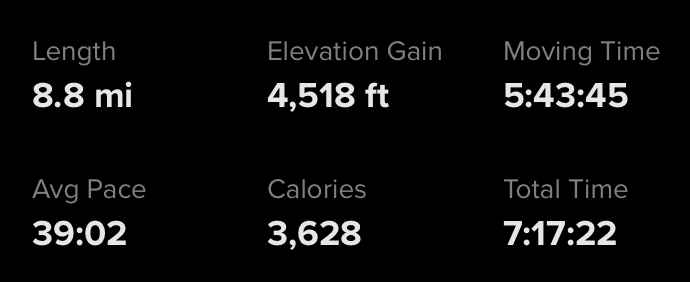
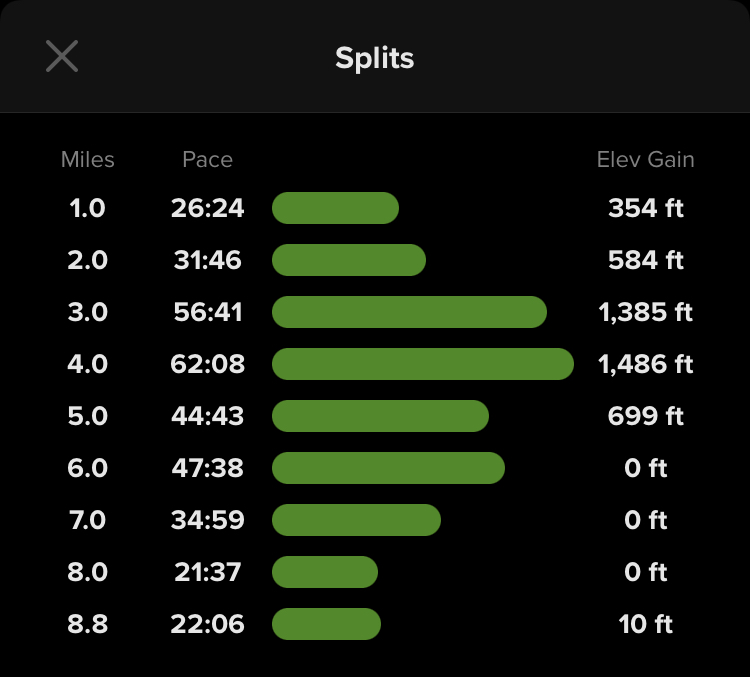
The Stats
If you like to geek out on stats like me, here are a couple of screenshots from the AllTrails app where I recorded my climb:
NOTE: If you choose to climb Mount Saint Helens during the winter or when the mountain is covered in snow, your climb, preparations, and gear will differ somewhat from my experience. I do not have the experience needed to advise anyone on glissading or ice axes! If your climb might include snow please be sure to research what you need to do to ensure a safe climb.
0 Comments