Welcome to part 2 of me documenting what we are learning about owning a travel trailer. We are extremely new to this so I’m sure some of the things I mention will be wrong. Also, some of what I’m going to talk about is specific to our situation so what works for our trailer may not make sense for yours. But my main goal is to give general advice that can help other first timers regardless of what type of travel trailer is in your future.
In part 1 of this series I went over the things we did to prepare for buying a travel trailer. Namely, choosing a tow vehicle and starting a list of gear we would need from day one. With those things done we were ready to start our search for a trailer. We started with our list of must-haves:
- A bathroom
- Heater / Air Conditioner
- Total length of 24 feet or less
- A bed that isn’t a murphy/foldaway and is oriented front-to-back instead of side-to-side
The trailer we rented a couple of years ago had a bed that was oriented from side-to-side. That meant if we went to bed at different times or if one of us had to go to the bathroom in the middle of the night, we had to crawl over each other.
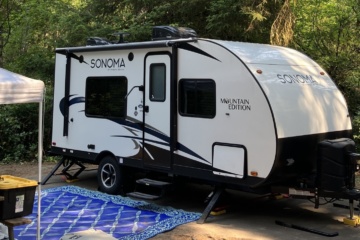
With that list in mind I started my search on the only used RV website I knew of, RV Trader. I expected to spend a lot of time looking through listings that didn’t meet all our criteria. Especially the bed, because most trailers that short have the sideways bed. However, the same night I started my search I found one that checked all the boxes. Even better, it was in Oregon just 30 minutes from where we live.
Surely this was too good to be true. I sent a link to Erin and asked her what she thought and she quickly replied “It’s perfect!”. I sent the seller a message that night and got a call the next day. A few days later I drove down to see it in person. Everything looked good so I let the seller know I was very interested and just needed to run some numbers and talk to my wife about everything.
The first thing I did was look up the value to compare to the asking price. The site I used (and what our bank used) is J.D. Power, formerly NADA. It lets you choose the type of RV, year, make, model, and all the options. After you’ve entered all the details for the RV you’re looking at it will give you a range of values depending on whether the seller is a dealer or private party.
Now that I knew the price was in line with the value, the next step was to make sure everything was in good condition. A few months earlier I had joined a few RV groups on Facebook. One common piece of advice was to get an inspection from an NRVIA certified inspector. They can find potential problems you might not notice like hidden signs of water damage. The cost will vary depending on the type of vehicle and where you are located. Paying $500-$1500 for an inspection is not cheap, but could save you from making a much more expensive mistake.
Our inspection alerted us that the roof needed to be resealed, something that needs to be done as often as once a year. We got a couple of quotes from repair shops and the final cost ended up around $1600. Because of that we were able to negotiate the price down by almost the same amount. So we spent $500 on an inspection, but it ended up saving us $1500 off the purchase price, a net savings of $1000.
While I waited on the inspection I went ahead and asked my bank what would be needed for a loan. In some ways it’s similar to a car loan, but it’s also quite different. First, banks have a different range of rates it offers for RVs. Second, the loan term can be much longer for RVs even as long as 15 years.
The other major difference I found was how much of the value a bank is willing to finance. If you’ve ever bought a new truck you know it’s possible to finance more than the vehicle is actually worth. That is not the case with an RV, at least not at our bank. They flat out refused to finance more than 80% of the value.
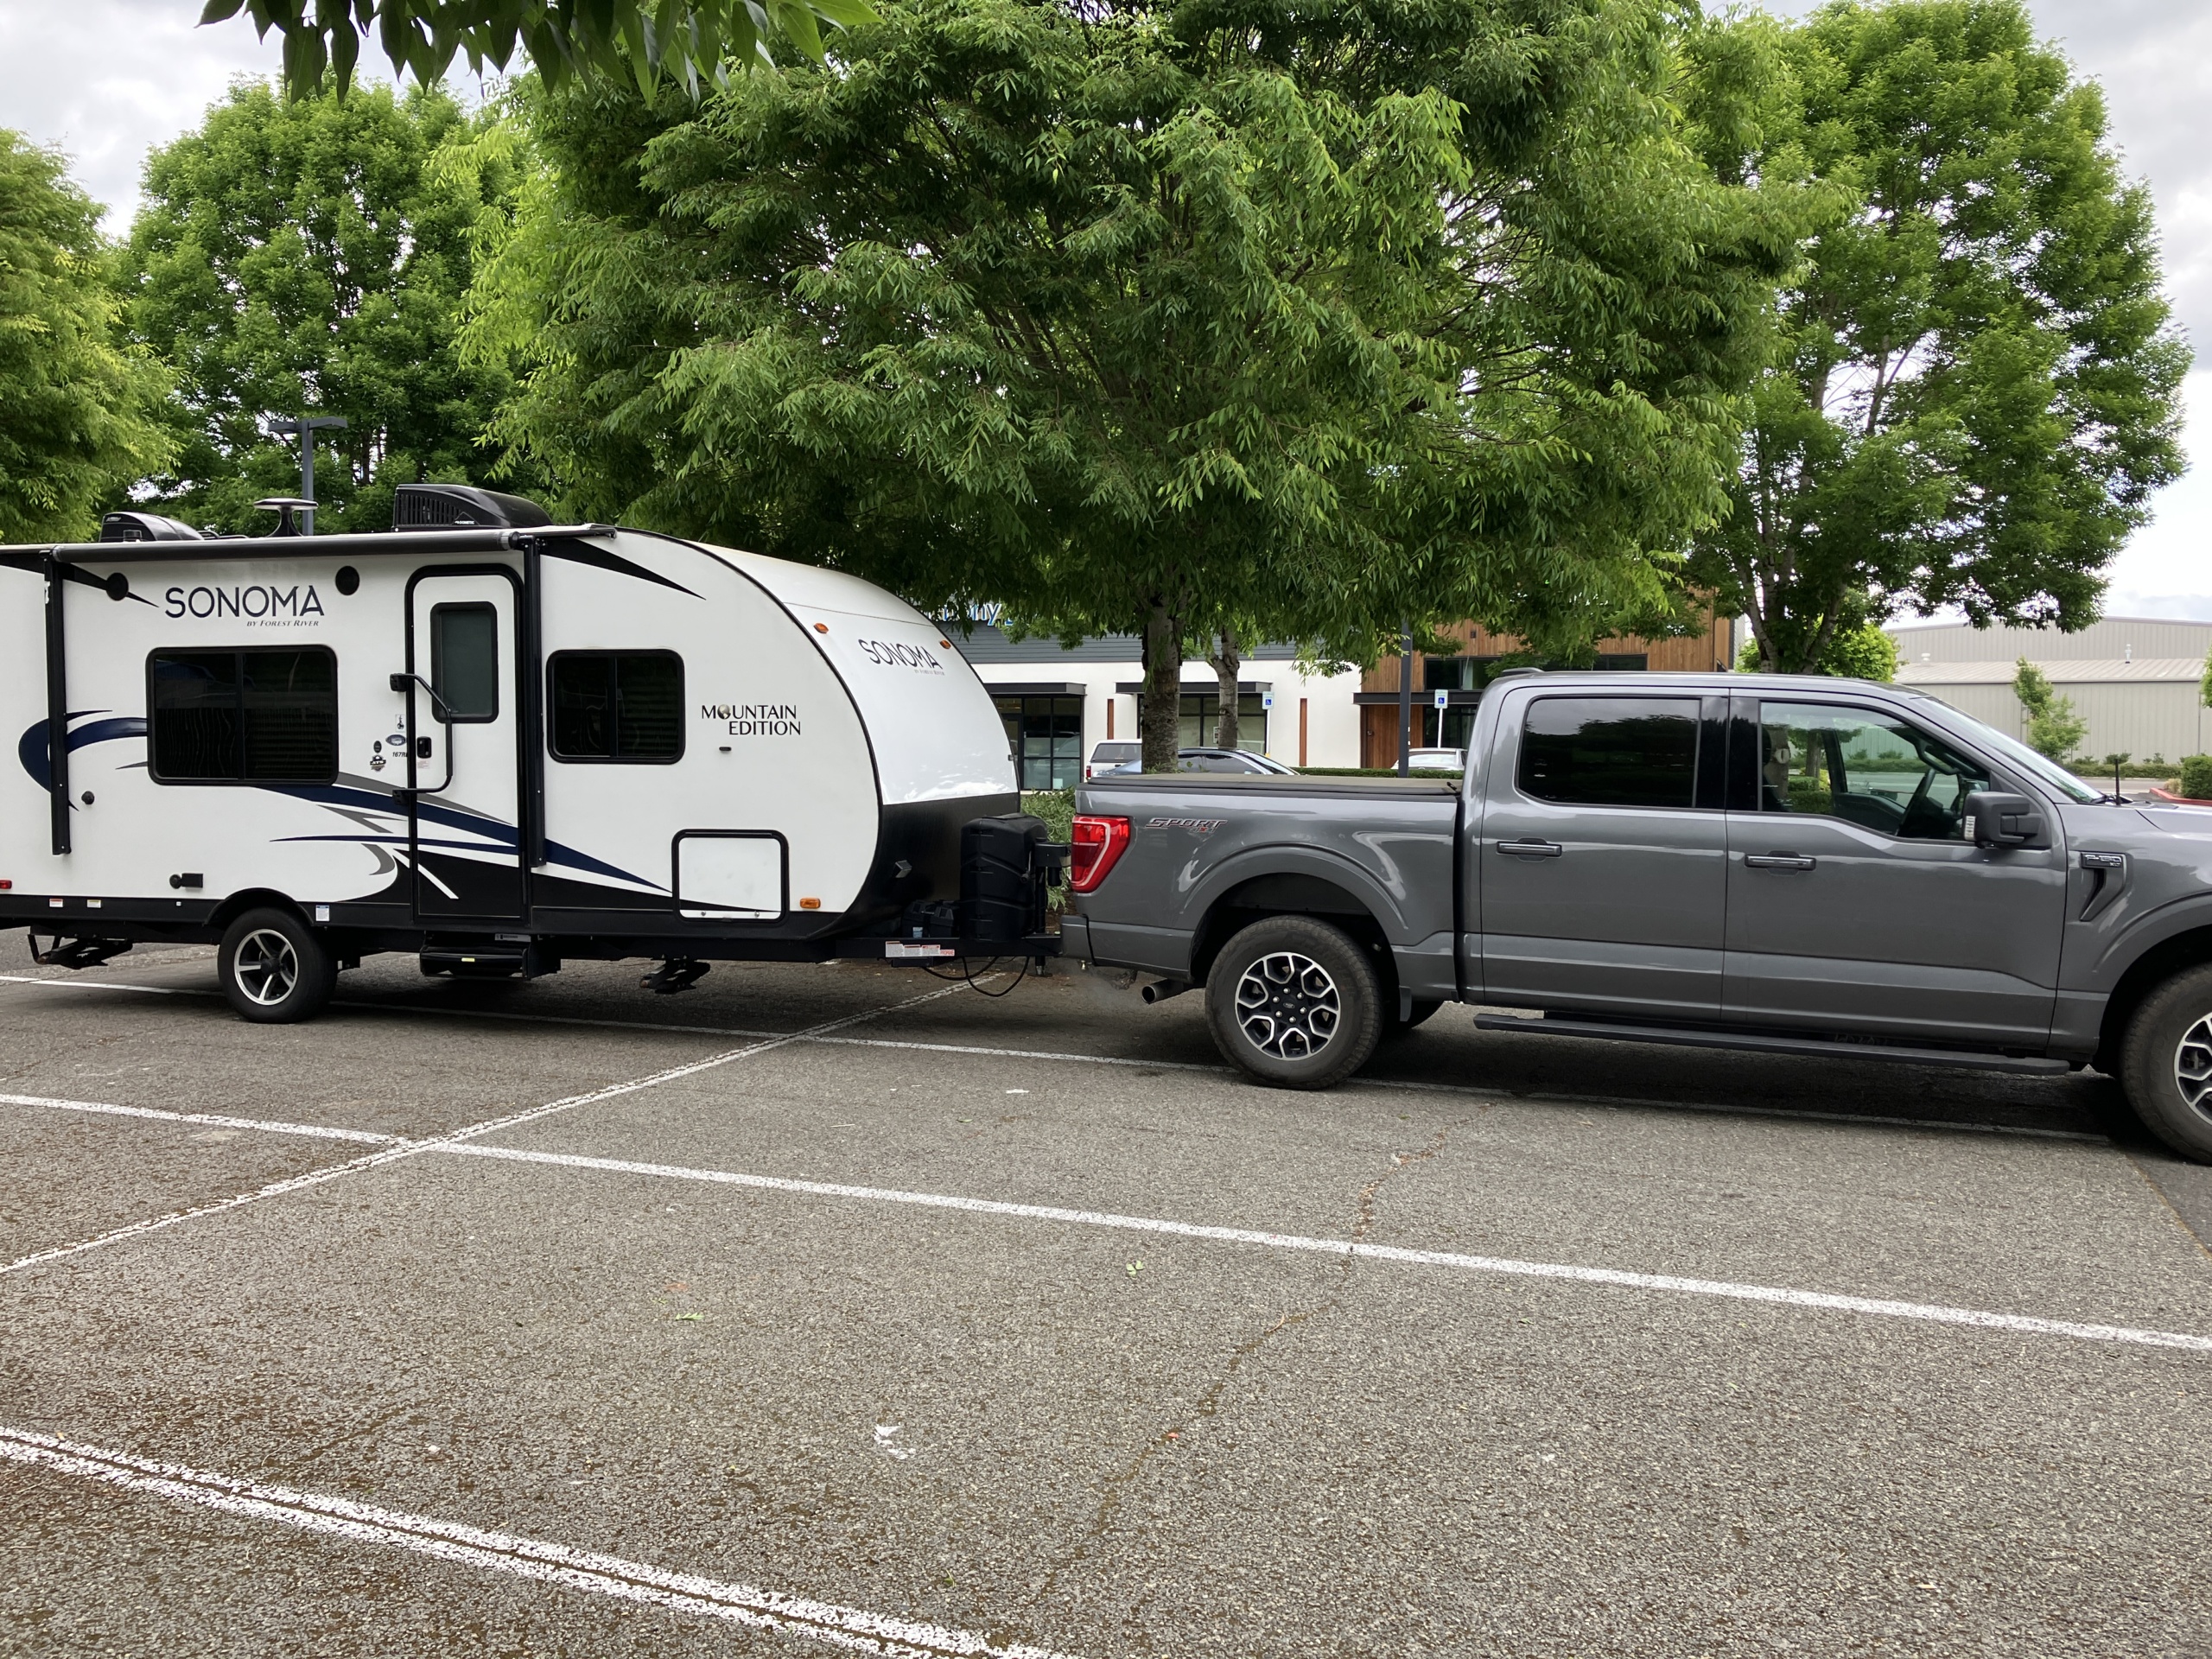
So the best advice I have is to start talking to banks as soon as you think there’s a good chance you’re going to make an offer on the travel trailer you’re looking at. The overall process from the time I first saw the travel trailer online until I was hitching it up to the truck outside the bank took roughly 2 and a half weeks.
Hooking it up to the truck in the bank parking lot definitely made it real. We don’t have any space at our house for a travel trailer so we needed a place to store it as soon as the purchase was complete. In part 3 I’ll discuss how to find a place to store your travel trailer and why that was one of the primary challenges during our buying process. I will also talk about how we decided where to take our new travel trailer for its maiden voyage and what we learned from that trip.

0 Comments